Kyle Weiger
Share This
The 5 Biggest Beginner Handstand Mistakes (And How to Avoid Them)
After coaching thousands of students over the past decade, I’ve seen the same patterns repeat over and over.
Beginners make predictable mistakes—not because they’re careless, but because nobody ever told them what actually matters when learning handstands.
These mistakes slow progress, create bad habits that take months to unlearn, and in some cases, increase injury risk.
The good news? Every single one of these mistakes is completely avoidable when you know what to look for.
Let me break down the five biggest beginner handstand mistakes and show you exactly how to sidestep them from day one.
Mistake #1: Skipping (or Half-Assing) Your Warm-Up
I get it. You’re excited to practice. You want to kick up and start working on balance, not spend 10 minutes on “boring” preparation.
But here’s the reality: your warm-up determines the quality of your entire practice session.
A proper warm-up does three critical things:
- Prepares your wrists to handle your full bodyweight in extension
- Activates your shoulders so they can stabilize properly when inverted
- Engages your core so you have the control needed to maintain a straight line
Without these pieces activated, you’re not just practicing ineffectively—you’re setting yourself up for injury.
What a Good Warm-Up Looks Like
Spend 5-10 minutes on:
- Wrist circles and extensions in both directions
- Shoulder activation through scapular pushups and wall slides
- Core engagement with hollow body holds or planks
- Light weight-bearing to prepare hands and wrists for load
This isn’t wasted time. It’s the foundation that makes everything else work.
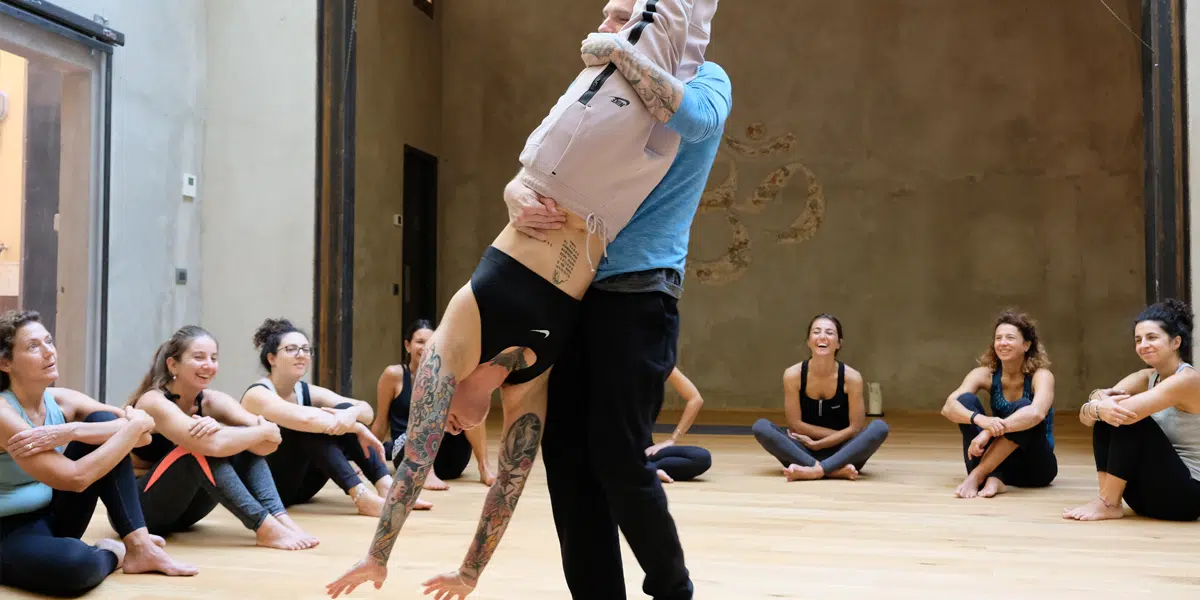
Mistake #2: Training Without Support (No Wall, No Spotter, No Plan)
Handstands are intimidating, especially when you’re new. The fear of falling backward is real, and it’s not something you can just logic your way out of.
So why do so many beginners try to kick up to a freestanding handstand with no wall, no spotter, and no plan for what to do if they lose balance?
You need a safety system—especially in the beginning.
How to Set Yourself Up for Success
- Use a wall to build strength and comfort being inverted without the fear factor
- Work with a spotter when first attempting freestanding balances (someone who can catch your legs or provide feedback)
- Learn to bail safely so falling doesn’t feel catastrophic
- Practice in a clear space with soft flooring or a mat
The wall isn’t a crutch you need to graduate from immediately. It’s a training tool that even advanced practitioners use for strength work, endurance holds, and technique refinement.
Start with support. Build confidence. Progress methodically.
Mistake #3: Learning Terrible Technique From Day One
This is the mistake that haunts students for months or even years.
Most beginners learn handstands by watching random YouTube videos or copying what they see on Instagram. They kick up with maximum momentum, crash into a wall with a banana back and closed shoulders, and think they’re “doing handstands.”
You’re not. You’re practicing bad habits that will have to be completely unlearned later.
What Proper Technique Actually Looks Like
- Shoulders fully elevated (pushed up toward your ears, not sagging)
- Straight body line from wrists to hips to ankles (no banana back)
- Ribs pulled down and core engaged (not arched lower back)
- Weight evenly distributed across your entire hand, with active finger pressure
- Controlled entry that teaches you to stop at vertical, not blow past it
These aren’t minor details. This is the difference between building skill that compounds over time versus reinforcing compensation patterns that limit your progress.
If you’re not sure what good technique feels like, work with a coach. Watch your form on video. Get feedback from someone who actually knows what they’re doing.
Don’t spend six months practicing the wrong thing.
Mistake #4: Trying to Do Too Much, Too Soon
Handstands require significant strength and control, and your body needs time to build capacity.
Yet beginners constantly try to rush the process:
- Attempting long freestanding holds in week one
- Skipping wall work because it “feels too easy”
- Practicing for 60 minutes straight when they should be doing 15-20 minute sessions
- Trying advanced variations before mastering basic holds
This is how you get injured, burn out, or plateau for months.
The Right Progression
Start with handstands against a wall. This isn’t a beginner phase you rush through—it’s where you build the foundational strength and body awareness that makes freestanding work possible.
Focus on:
- Short, quality holds (10-20 seconds with perfect form beats 60 seconds of sloppy form)
- Gradual time increases as strength builds
- Controlled entries that teach proper motor patterns
- Consistent practice frequency (3-5 short sessions per week beats one long session)
Build up slowly. Your connective tissues, nervous system, and motor patterns all need time to adapt. Rushing this process doesn’t accelerate progress—it derails it.
Mistake #5: Expecting Instant Results (And Quitting When They Don’t Happen)
Learning handstands takes time. Not days or weeks—months, and often more than a year to achieve truly solid, consistent holds.
This isn’t a reflection of your ability. It’s just the reality of learning a complex motor skill that requires:
- Specific strength development
- Inverted spatial awareness
- Proprioceptive calibration
- Motor pattern acquisition
- Fear desensitization
All of these things happen gradually, through consistent practice over time.
The students who succeed aren’t the most talented. They’re the most patient.
How to Set Realistic Expectations
Instead of fixating on “I want to hold a handstand,” focus on process goals:
- Train 4 days this week
- Hold a wall handstand for 30 seconds with proper shoulder position
- Practice controlled kick-ups 10 times
- Complete mobility work before every session
These are things you can control and accomplish immediately, and they’re what actually create the long-term result you want.
Progress isn’t linear. You’ll have good days and frustrating days. You’ll plateau, break through, plateau again. This is normal.
The difference between students who eventually succeed and those who quit? The successful ones never stopped showing up.
The Bottom Line: Avoid These Mistakes From Day One
You don’t have to learn these lessons the hard way. Thousands of students before you have made these exact mistakes, and I’ve watched how they derail progress.
Start smart:
- Warm up properly every single session
- Use support systems (walls, spotters, safe practice space)
- Learn correct technique from the beginning
- Build up gradually with proper progression
- Be patient with the process
Do these things, and you’ll progress faster than 90% of people attempting to learn handstands on their own.
Want to Avoid These Mistakes?
If you’re serious about learning handstands the right way—with proper technique, intelligent progression, and none of the common beginner mistakes—I’ve created a free resource to guide you.
[Download my free 21 Foundational Handstand Habits series]
This email series covers the essential principles, techniques, and training habits that set you up for success from day one. No guessing, no wasted time, no bad habits to unlearn later.
Learn it right the first time. Your future self will thank you.
Follow me on socials: Instagram, Facebook, TikTok, Red