Kyle Weiger
Share This
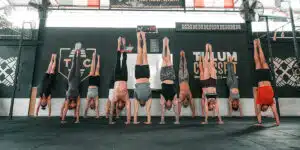
Why Wall Handstands Are Essential (Not Just for Beginners)
There’s a common misconception that wall handstands are a “beginner tool” you graduate from as soon as possible.
Nothing could be further from the truth.
I’ve been training handstands for over a decade, and I still use wall handstands regularly in my practice. So do the professional handbalancers I know. The wall isn’t something you outgrow—it’s a fundamental training tool that serves different purposes at every skill level.
For beginners, the wall is absolutely essential. It allows you to build strength, develop comfort being inverted, and practice proper alignment without the fear of falling. But even advanced practitioners use walls for conditioning, endurance training, and technique refinement.
Let me show you why wall handstands matter and how to use them effectively.
What Wall Handstands Actually Do
When you remove the fear of falling backward (which the wall does), your nervous system can focus on everything else:
Building Specific Strength
Handstands require shoulder stability, core control, and wrist conditioning. Wall holds allow you to develop time under tension in the exact position you need, building the strength foundation that makes freestanding work possible.
Developing Body Awareness
Being inverted feels completely foreign at first. The wall gives you a safe environment to explore this position, understand what vertical feels like, and learn how your body needs to be organized.
Practicing Proper Alignment
With the wall for support, you can focus on technical details: shoulders elevated, ribs pulled down, straight body line, active hands. These patterns become ingrained, making them easier to maintain when you go freestanding.
Building Endurance
Want to hold a 60-second freestanding handstand eventually? You’ll need to build that endurance somewhere safe first. Wall holds are perfect for this.
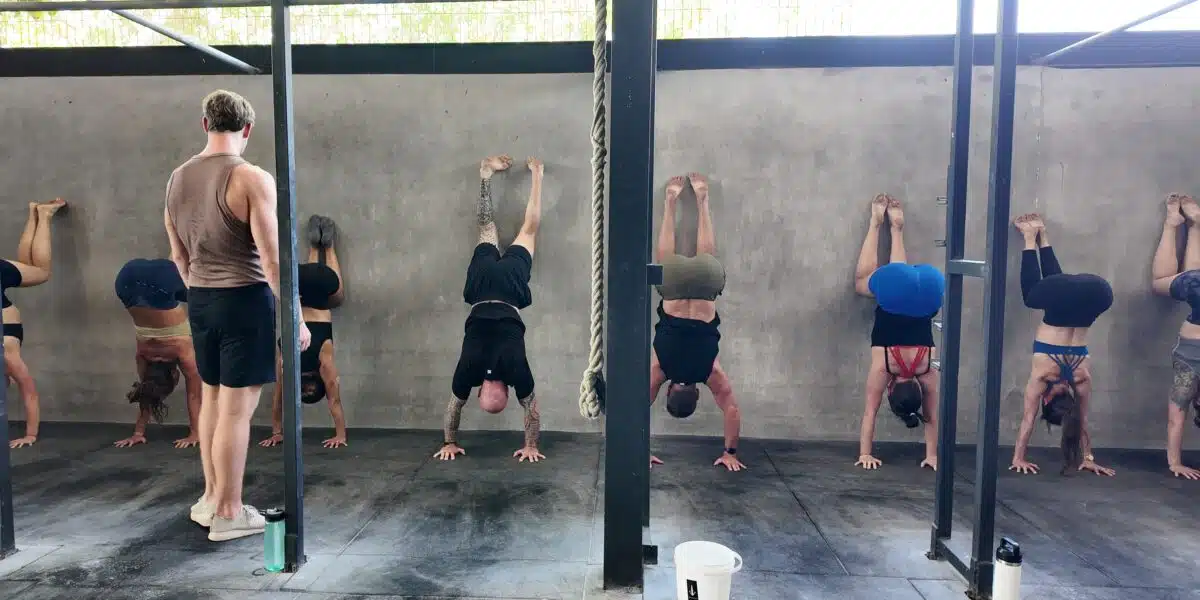
How to Actually Use the Wall (Not How Most People Do It)
Here’s where most people go wrong: they kick up with maximum momentum, crash their heels into the wall, and hang there in a banana-back position.
This teaches you nothing useful and creates bad habits you’ll spend months unlearning.
The right way to use the wall:
1. Find the Right Wall
Not all walls are created equal for handstand training:
- Smooth and flat (no protruding objects or rough textures)
- Sturdy (not drywall that could crack if you accidentally kick it)
- Clear space around it for safe movement
- Good surface below (yoga mat or firm carpet, not slippery hardwood)
2. Warm Up First
Never skip this. Your wrists, shoulders, and core need preparation:
- Wrist circles and extensions
- Shoulder activation drills
- Light core work (hollow body holds or planks)
- Some gentle weight-bearing to prepare your hands
5-10 minutes of warm-up makes the entire session more productive and significantly reduces injury risk.
3. Position Your Hands Correctly
Place your hands about 6-12 inches from the wall—not right against it. Your fingers should face the wall, palms flat, weight distributed evenly across your entire hand (not just the heel of your palm).
This distance matters because you want to learn to STOP at the wall, not crash into it.
4. Control Your Entry
This is critical: kick up with control, not maximum force.
Use just enough momentum to bring your hips over your shoulders. Your heels should barely touch the wall—light enough that you’re actively balancing, not relying on the wall to hold you up.
If you’re slamming into the wall with heavy heels, you’re practicing the wrong skill. You’re training yourself to overshoot vertical, which is exactly what you DON’T want to do in a freestanding hold.
5. Find Proper Alignment
Once you’re up, focus on:
- Shoulders pushed up toward your ears (fully elevated, not sagging)
- Ribs pulled down (not arched lower back)
- Body in a straight line from wrists to hips to ankles
- Core engaged (like you’re bracing for a punch)
- Active fingers pressing into the ground
This is what you’re actually training. The wall just gives you the safety to practice these positions without fear.
6. Make Small Adjustments
Even against the wall, you should be actively balancing. Shift your weight slightly, feel the pressure changes in your hands, make micro-adjustments with your shoulders and core.
This active practice translates directly to freestanding work. Passive hanging against the wall does not.
Progressive Wall Training: From Beginner to Advanced
The wall serves different purposes depending on your skill level:
For Complete Beginners (Weeks 1-8)
Focus: Getting comfortable inverted and building foundational strength
- Short holds (10-20 seconds) with perfect form
- Learning what proper shoulder position feels like
- Building wrist and shoulder capacity
- Desensitizing your nervous system to inversion
For Intermediate Practitioners (Months 2-6)
Focus: Building endurance and refining technique
- Longer holds (30-60 seconds)
- Practicing with minimal wall contact
- Working on breathing while inverted
- Transitioning between wall and freestanding attempts
For Advanced Practitioners (6+ Months)
Focus: Conditioning and specific skill work
- Endurance sets (multiple 60+ second holds)
- One-arm wall work
- Wall walks and controlled descents
- Using the wall as a safety net for advanced variations
Notice how the wall never stops being useful—it just serves different training purposes.
Why You Should Never Rush Past Wall Work
I see this constantly: beginners who’ve been training for three weeks wanting to skip wall work because it “feels too easy” or “isn’t the real thing.”
This is a huge mistake.
The wall is where you build the foundation that makes everything else possible. Rush this phase, and you’ll either:
- Plateau at inconsistent 5-second freestanding holds for months
- Develop compensation patterns that limit your progress
- Build a handstand with poor alignment that has to be completely rebuilt later
The students who spend adequate time developing strength and technique against the wall progress faster to solid freestanding holds than those who rush to freestanding attempts prematurely.
The Bottom Line
Wall handstands aren’t a beginner phase you rush through. They’re a fundamental training tool that serves you at every level of practice.
Use them to build strength, refine technique, develop endurance, and as a safe environment to explore being inverted.
But use them correctly: controlled entries, proper alignment, active balance practice. Not mindless crashing and hanging.
Do this, and the wall becomes your best training partner—one that will serve you for years to come.
Ready to Use the Wall Effectively?
If you want to build a wall handstand practice that actually translates to freestanding balance—with proper technique, intelligent progression, and no wasted time—I’ve created a free resource to guide you.
[Download my free 21 Foundational Handstand Habits series]
This email series covers the essential techniques, strength protocols, and training principles that create real progress. Including exactly how to use the wall to build skill that compounds over time.
Stop rushing. Start building properly.
Follow me on socials: Instagram, Facebook, TikTok, Reddit