
Kyle Weiger
Share This
You’ve seen the arch in your footage. Everybody has.
You’ve also been told what to do about it. Straighten your legs. Squeeze your glutes. Engage your core. So you try harder at all three, film it again, and the curve is still there.
The reason those cues don’t work isn’t that you’re doing them wrong. It’s that they’re aimed at the wrong body part. The arch in your handstand isn’t coming from your legs. It’s coming from your pelvis, and until you can control your pelvis upside down, no amount of leg squeezing will straighten the line.
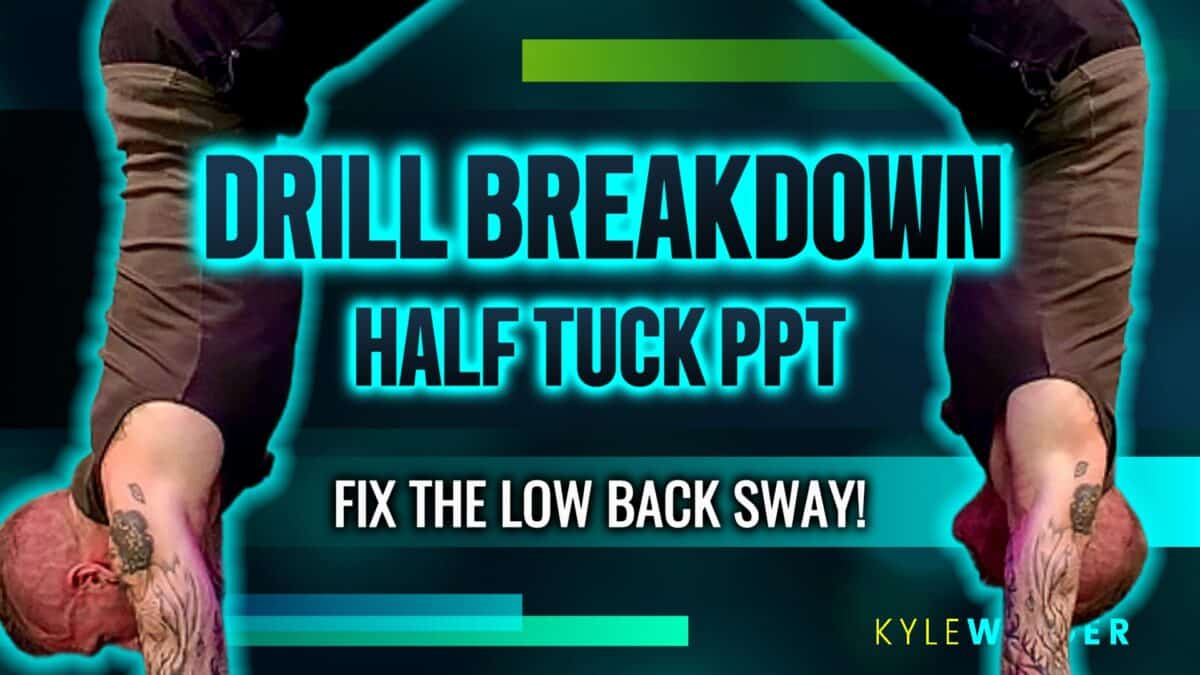
The half tuck drill is where you learn that control. It’s done chest to wall, so you’re not managing balance, and it shortens your legs out of the equation so you can actually feel what your pelvis is doing.
(Full breakdown in the video above. The written version below goes deeper.)
The banana is a pelvis position
Stand up and try this right now, right side up.
Let your ribs flare out and your tailbone tip backwards. Feel your lower back arch. Now do the opposite: draw your ribs down toward your hips and tuck your tailbone under, so your lower back flattens out. That second position is posterior pelvic tilt, or PPT, and it’s the thing your handstand is missing.
Flip that first position upside down and you have a banana handstand. Same body position, different orientation. Your legs aren’t doing anything wrong in either case. They’re just attached to a pelvis that’s tipped.
This is why cueing your legs never fixes it. Your legs are downstream. You can straighten your knees perfectly and still be curved, because the curve is happening below them.
Why you can find it standing but not upside down
Two things get in your way once you go inverted.
You can’t feel your own position. Right side up, you have years of reference for what your pelvis is doing. Upside down, that feedback largely disappears. Most beginners genuinely believe they’re straight while filming something quite different. That gap between what you feel and what’s real is the single biggest obstacle in early handstand training.
Straight legs make the correction harder. Your legs are a long lever hanging off your pelvis. The longer that lever, the more work it takes to hold your pelvis where you want it, and the more your hip flexors and lower back want to pull you back into the arch. Asking a beginner to find PPT with straight legs is asking them to learn a new position at the hardest available difficulty.
The half tuck fixes both. The wall removes the balance demand so you can put your attention on one thing. The tuck shortens the lever so the position is findable.
How to do the drill
Set up chest to wall. Hands on the floor, walk your feet up the wall until your hips are stacked over your shoulders and your chest is close to the wall. How close depends on your shoulders. Close enough that you’re vertical, not so close that you can’t breathe.
Bring your knees into a half tuck. Peel your feet off the wall and draw your knees up so your thighs come toward your chest. Half tuck, not a full ball. Knees bent, thighs somewhere around a right angle to your torso.
Now find the pelvis. Ribs down. Tailbone tucked under. Think about bringing the front of your hips toward your ribs. Your lower back should flatten out. This is the actual drill. Everything before it was just getting you into position.
Hold and breathe. Short holds. The position is what matters, not the duration. If you can’t breathe, you’re bracing instead of positioning.
Come down under control and reset.
How to know you actually found it
Two checks, and use both.
Film it from the side. Not the front. The side is the only angle where the line is visible, and this drill lives or dies on what you can’t feel. Film every session at first.
Feel where the work is. In a correct half tuck with real PPT, the effort shows up across your midsection and in your shoulders. If you feel it mostly in your lower back, your pelvis hasn’t moved, and you’re arching underneath a tucked pair of knees.
That second one catches a lot of people. Tucking your knees does not automatically tilt your pelvis. It just makes the tilt possible. You still have to do it.
Common mistakes
Tucking the knees and calling it done. The most common one by far. The tuck is the setup, the pelvic tilt is the drill.
Standing too far from the wall. If your hips aren’t over your shoulders, you’re in a pike, not a handstand, and the position you’re learning won’t transfer.
Holding your breath. If bracing hard enough to stop breathing is what it takes, the position is too aggressive. Back off until you can hold it and breathe.
Rushing to straight legs. The whole value here is the shortened lever. Extending too early puts you right back into the version you couldn’t control.
Only filming the front. You cannot see an arch from the front. Side angle, every time.
Getting out of the half tuck
Once you can hold the half tuck with a flat lower back and normal breathing, you extend gradually rather than all at once.
Start by extending one leg while the other stays tucked, and watch what happens to your lower back. It will usually want to arch the moment the lever gets longer. Your job is to keep the pelvis where it was. Then switch sides.
From there, extend both legs part way. Then all the way. At every step, the test is the same: did your lower back stay flat, or did it arch to let your legs get where they were going?
If the arch comes back, you’ve found your current limit. Go back a step. That’s not a setback, that’s the drill working correctly.
Worth knowing: if you get to straight legs and the arch is unavoidable no matter what your pelvis does, the limiter has usually moved to your shoulders. When your shoulders can’t stack fully overhead, your lower back has to make up the difference, and no amount of pelvic control will override that. That’s a different piece of work.
Common questions
How often should I do this? It’s low intensity and position focused, so it can run most sessions. Early in the session while you’re fresh, since the whole thing depends on attention.
Should I do this before or after my regular handstand practice? Before. It’s not conditioning, it’s a position you’re teaching your body, and that teaching goes badly when you’re tired.
How long until my line changes? The half tuck itself usually comes together within a few weeks. Carrying it into a full handstand takes longer, because you’re rebuilding a pattern your body has been using for months.
My lower back cramps in this position. Usually means you’re gripping rather than positioning. Reduce the effort, shorten the hold, and check whether your hips are actually over your shoulders.
Can I do this if I can’t kick up yet? Yes. Chest to wall is walked into, not kicked into, which is part of why it’s a good beginner drill.
Is a full tuck better than a half tuck? A full tuck is easier and useful if the half tuck is out of reach right now. But half tuck sits closer to the position you’re actually building toward, so it transfers more directly.
Stop cueing your legs
If you’ve spent months trying to straighten your legs and watching nothing change, this is the drill that gets you off that loop.
Chest to wall, knees to half tuck, ribs down, tailbone under. Film it from the side. Extend one leg at a time only when the flat back holds.
Your legs were never the problem.
If you want a proven system that takes all the guesswork out of learning handstands, I’ve put together a resource that covers exactly what you need to get started the right way.
The 4 Essential Handstand Elements
Over 28 days, you’ll get the essential habits, drills, and principles that set serious handstand students apart from those who spin their wheels for years. No information overload—just the right things, in the right order.
See you upside down.
PS: Follow me on socials: Instagram, Facebook, TikTok, YouTube