Kyle Weiger
Share This
Beginner Handstand Tutorial: Why You Need a System, Not Just Drills
If you search “beginner handstand tutorial” on YouTube, you’ll find thousands of videos showing you a single drill, a single tip, or a single “secret technique” that supposedly unlocks everything.
Try this one weird trick. Do this drill every day. Just kick up more.
Here’s the problem: isolated drills don’t build handstands. Systems do.
I’ve coached thousands of students across 72 countries over the past decade, and the single biggest predictor of whether someone achieves a solid handstand isn’t their flexibility, their strength, or their athletic background. It’s whether they’re following a coherent system or just collecting random drills.
Let me explain why that distinction matters—and what a real system actually looks like.
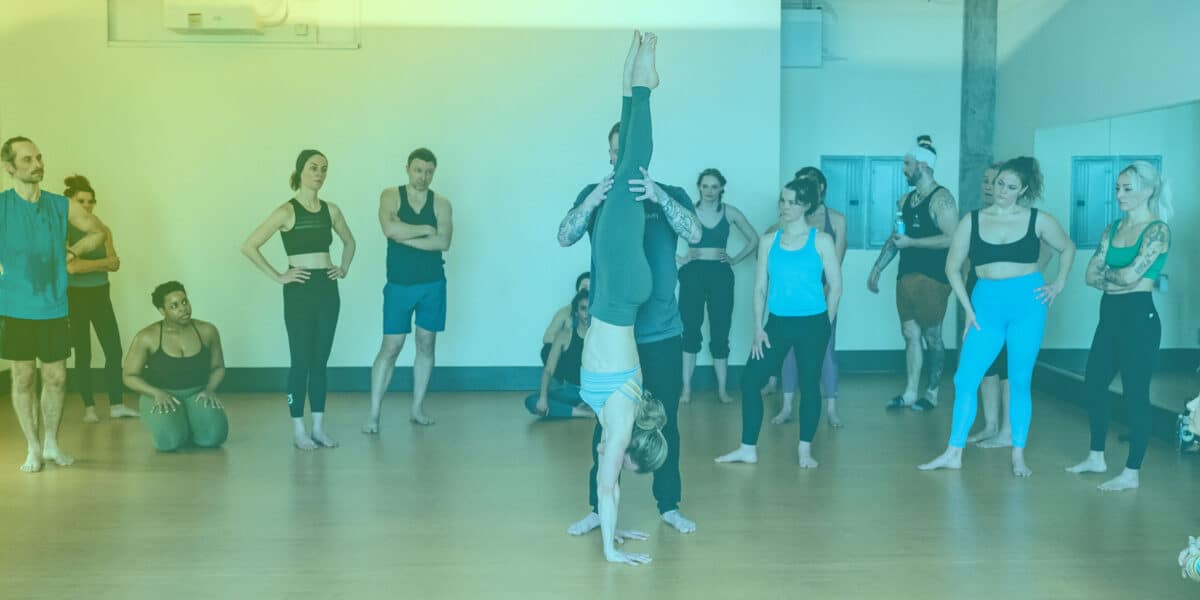
The “Floppers” Problem
You’ve probably seen this in every gym, yoga studio, and CrossFit box in the world.
Someone kicks up to the wall with maximum force, their heels slam into the wall, their back arches into a banana shape, and they hang there for 30 seconds before flopping back down. Then they do it again. And again. Every single day.
Six months later, they can flop against the wall with impressive consistency.
But ask them to step away from the wall? Total chaos.
The wall didn’t teach them a handstand. It taught them to flop against a wall.
This is what happens when training lacks a system. You get really good at the specific thing you’re practicing—even if that thing has nothing to do with the actual skill you’re trying to build.
A freestanding handstand requires your body to find and maintain vertical balance through active micro-adjustments. Flopping against a wall and hanging there trains none of that. It trains passive hanging, misalignment, and dependence on a surface that won’t be there when it matters.
What a System Actually Does
A proper beginner handstand tutorial doesn’t just give you things to practice. It gives you things to practice in the right order, for the right reasons, that build on each other progressively.
Think of it like building a house. You wouldn’t start with the roof. You wouldn’t skip the foundation because it’s underground and nobody sees it. You build in sequence—foundation first, then walls, then roof—because each layer depends on the stability of the layer below it.
Handstand skill works exactly the same way.
Here’s what a real system addresses, in sequence:
Layer 1: Mobility — Can Your Body Get Into Position?
Before a single kick-up, the first question a system asks is: does your body have the range of motion required to be in a proper handstand?
This isn’t about extreme flexibility. It’s about functional range:
Shoulder flexion — Can you get your arms fully overhead without your ribcage flaring or your lower back arching to compensate? If not, you’re building your handstand on a mobility deficit that will limit alignment from day one.
Wrist extension — Can your wrists comfortably handle 90+ degrees of extension under load? Tight wrists create pain, limit practice frequency, and increase injury risk.
Thoracic mobility — Can your upper back extend without dumping into your lower back? This is what separates a straight handstand line from a banana back.
If any of these are restricted, no amount of balance practice will create a clean handstand. You’ll compensate, compensate, compensate—until the compensations become the habit.
A proper system identifies these limitations early and addresses them as part of training, not as an afterthought.
Layer 2: Strength — Can Your Body Hold the Position?
This is where most beginner handstand tutorials get lazy.
They tell you to “work on core strength” or “do shoulder exercises” without being specific about what handstands actually demand.
Here’s what you actually need:
Shoulder stability under vertical load. Not just pressing strength—the ability to maintain organized, elevated shoulders while your full bodyweight presses down. This is trained through specific progressions like scapular pushups, pike holds, and extended arm planks.
Core anti-extension strength. Your lower back wants to arch when you’re inverted. Your core’s job is to prevent that. Hollow body holds are the gold standard here—they train the exact body shape a handstand requires.
Wrist and forearm conditioning. Your wrists need to be progressively loaded over weeks to develop the capacity to bear your bodyweight comfortably. This isn’t exciting work, but skipping it leads to the wrist pain that derails so many beginners.
Compression strength. The ability to keep your legs tight and your body organized from hips to toes. Without this, your lower half flops around and makes balance nearly impossible.
Build these specific strength qualities, and balance becomes dramatically easier. Ignore them, and you’ll be fighting your own weakness on every single kick-up.
Layer 3: Motor Control — Can Your Body Self-Correct?
This is the layer most people jump to immediately, skipping the first two entirely.
Motor control is balance—the neuromuscular ability to detect when you’re falling off vertical and make the micro-corrections that bring you back. It’s what handstands feel like from the inside: a constant stream of tiny adjustments through your fingers, wrists, shoulders, and core.
But here’s the critical insight: motor control can only be trained effectively when mobility and strength are already present.
If your shoulders are too tight to stack properly, your motor control drills are training a misaligned position. If you don’t have the core strength to maintain a hollow body, your balance work is constantly fighting your own collapsing structure.
This is why the sequence matters so much. Mobility and strength create the conditions in which motor control can actually develop.
When those foundations are in place, motor control develops through:
Controlled wall entries where you practice stopping at vertical rather than crashing through it—training your nervous system to recognize where balance actually lives.
Weight shifting drills against the wall that teach you how finger pressure creates movement and how small adjustments cascade through your whole body.
Short freestanding balance attempts where quality matters far more than duration. Five focused, intentional balance attempts teach your nervous system more than 50 panicked kick-ups.
Consistent practice frequency that gives your nervous system the regular repetition it needs to build and consolidate motor patterns. Three 20-minute sessions per week outperform one 60-minute weekend session every single time.
Layer 4: Putting It All Together — The Integrated Practice
Here’s where the system becomes more than the sum of its parts.
Once you have adequate mobility, building strength, and are developing motor control, your practice sessions become integrated—each element reinforcing the others.
Your mobility work opens up the range that makes alignment possible. Your strength work builds the capacity that makes holding the position sustainable. Your motor control work teaches your nervous system to use that strength and range efficiently.
This is how plateaus get broken. Not by adding more random drills, but by identifying which layer of the system is the current limiting factor and addressing it directly.
Struggling to hold balance for more than 2 seconds? It might not be a balance problem—it might be a strength problem. Your muscles are fatiguing before your balance system even has a chance to engage.
Can’t get a straight line no matter how hard you try? Probably a mobility problem. Your body can’t achieve the position you’re asking of it.
Keep overshooting the balance point on every kick-up? Motor control problem. Your entry isn’t controlled enough to give you a fair shot at balancing.
A system tells you where to look. Random drills just give you more things to try.
Why Most Beginner Handstand Tutorials Miss This
The honest answer is that systems are harder to teach in a 60-second video than single drills.
“Do this one exercise” is simple, shareable, and gets clicks.
“Build these four interconnected qualities in the right sequence over several months” is accurate, effective, and significantly less Instagram-friendly.
But accuracy is what actually helps you learn. And after a decade of coaching, I can tell you with complete confidence: students who follow systems consistently outperform students who collect drills. Every time, without exception.
My 4 Essential Elements System
Everything I’ve described above—mobility, strength, motor control, and integrated practice—is exactly what I’ve built my coaching methodology around.
My 4 Essential Elements system breaks handstand skill into four clear, trainable components: Movement, Shape, Strength, and Balance. Each element addresses a specific layer of what handstands require, and the system is designed so that each element builds on the ones before it.
This isn’t theory pulled from a textbook. It’s a decade of observing what actually works, refined through teaching thousands of students at every skill level, from people who’d never kicked up before to athletes looking to clean up advanced skills.
If you’re serious about learning handstands—not just getting good at flopping against a wall, but building real, freestanding skill—this is the system that will get you there.
[Check out my 4 Essential Elements course here]
Stop collecting drills. Start building skill. The difference is a system. See you upside down.
PS: Follow me on socials: Instagram, Facebook, TikTok, Reddit